What methods can I enroll in for MFA?
We use Azure MFA to further secure your account. This means that after putting in your email and password, you will then be asked to use another method to verify your identity in order to sign in to your school account on a website (e.g. Student Gateway, Canvas) or an application (e.g. Canvas mobile app). See this article for more information on MFA.
There are several methods available for you to enroll in:
- Phone (text | call)
- Alternate Phone (call)
- Authenticator app / mobile app (notification | code)
- Security key
How many methods do I need to be enrolled in?
Since we will be enforcing MFA, you will need to be enrolled in at least one of the above methods. However, we do highly recommend that you enroll in more than one method so that you have back-up / alternative options for signing in with MFA in case you need it. For instance, even if you have your mobile phone enrolled, you can enroll an alternate phone to use for MFA sign-in. This will help you to be able to sign in still even if your mobile phone dies or if you lose it.
What you will see when signing in depends on what methods you have enrolled in and your default sign-in methods. Below you can see how to check and add new methods. To check your default sign-in methods, see this article.
How do I check the methods that I have enrolled in for MFA?
- Navigate to https://mysignins.microsoft.com/security-info
- Enter your school email address and click Next.

- Enter your password and click Sign In.

- You will then be directed to a screen asking if you would like to stay signed in. Click No if the computer you are using is a public machine. Click Yes if you are using a trusted personal device and would like to reduce how many times you are asked to sign in.

- Once you finish signing in, you will see the Security info page in Microsoft's My Sign-Ins website for your account. On this page, you will see a white box with a button on the top that says Add method. If you have no methods enrolled for MFA, you will see "No items to display." under Add method. (See example image of no methods enrolled below.)
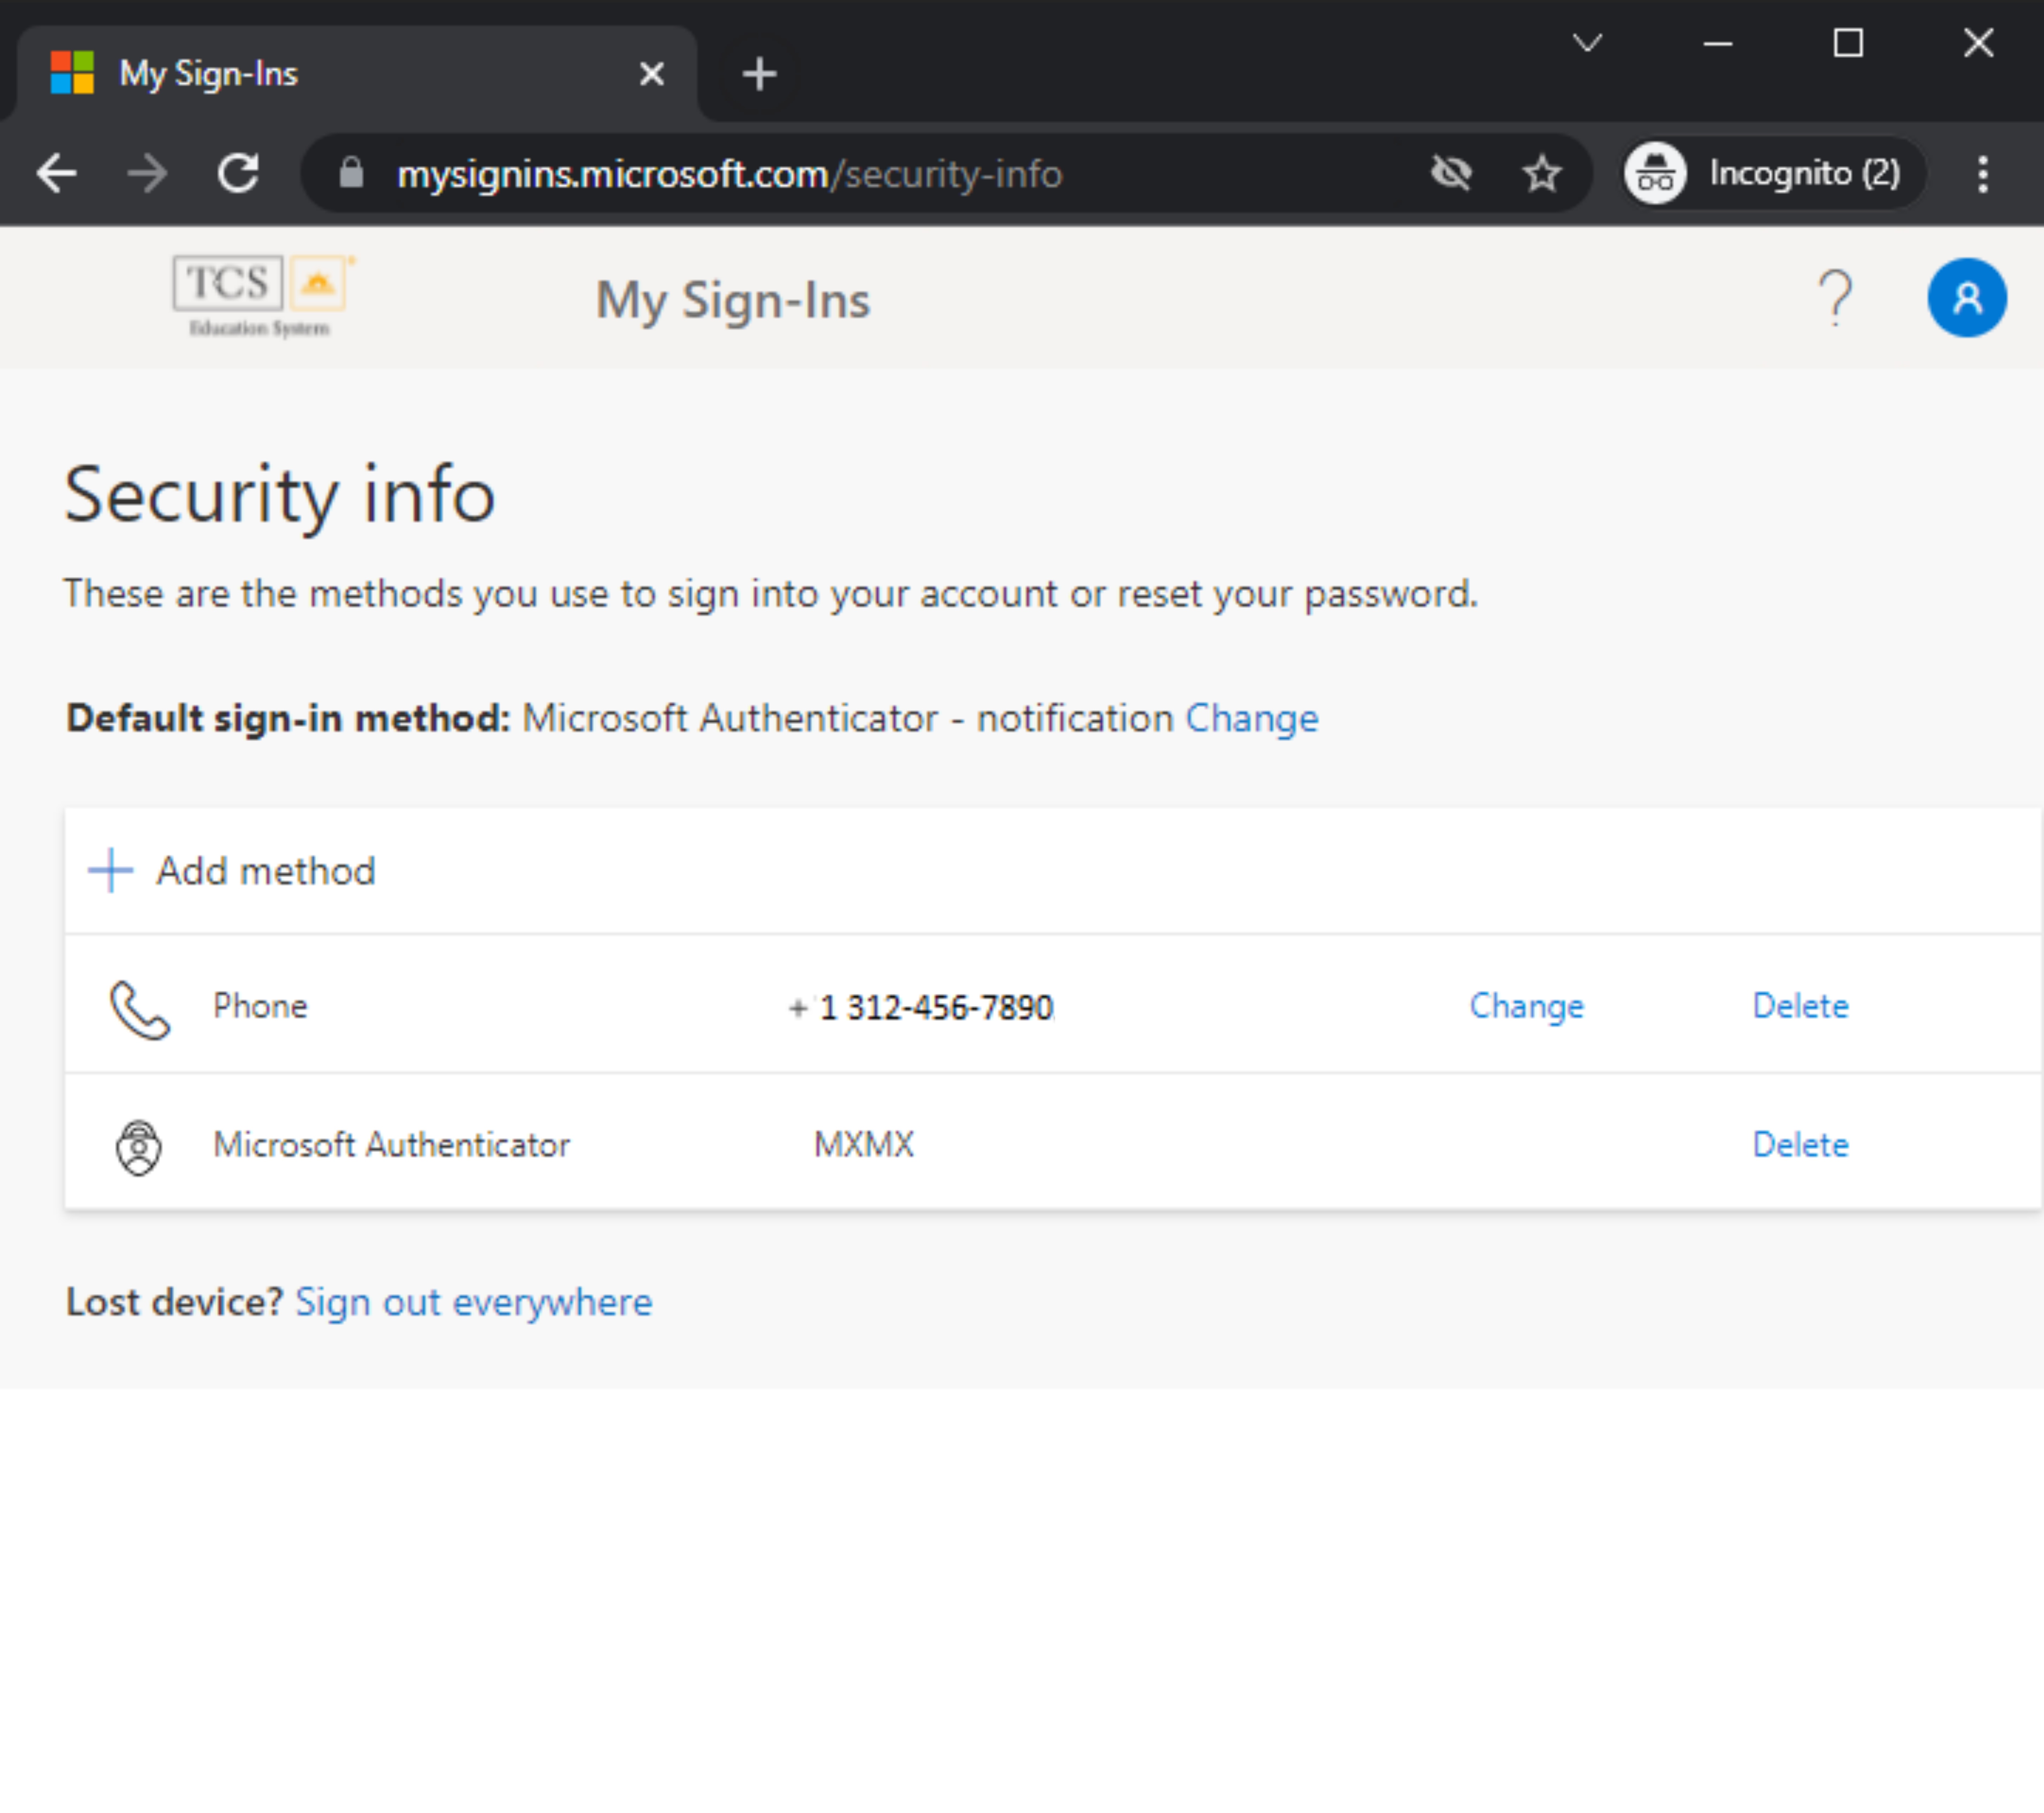
 Otherwise, if you have at least one method enrolled in MFA, you will see a list of your methods. (See example image of a phone and authenticator app enrolled below.)
How do I enroll a new method in Azure MFA for students/alumni?
- Navigate to https://mysignins.microsoft.com/security-info
- Enter your school email address and click Next.

- Enter your password and click Sign In.

- You will then be directed to a screen asking if you would like to stay signed in. Click No if the computer you are using is a public machine. Click Yes if you are using a trusted personal device and would like to reduce how many times you are asked to sign in.

- Once you finish signing in, you will see the Security info page in Microsoft's My Sign-Ins website for your account. On this page, you will see a white box with a button on the top that says Add method. If you have no methods enrolled for MFA, you will see "No items to display." under Add method. (See example image of no methods enrolled below.)
 Otherwise, if you have at least one method enrolled in MFA, you will see a list of your methods. (See example image of a phone and authenticator app enrolled below.)
- To add a new MFA method, click Add method. Then, follow the steps below for the method that you would like to add (phone, alternate phone, authenticator mobile app, security key).
Note: If you have at least one method enrolled in MFA, you will also see Default sign-in method below the Security info heading. If you do see this, then you will see the default sign-in method that is currently set for your account next to it. See this article for more info on what this means and how to change your default sign-in method.
How do I enroll my phone for MFA?
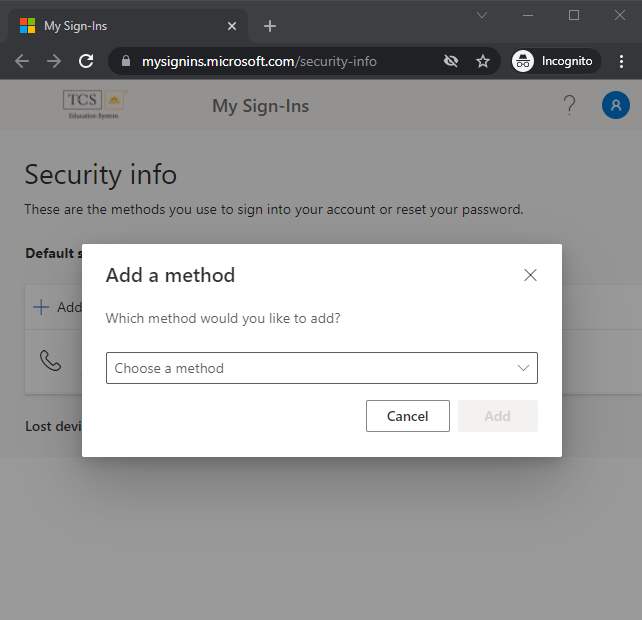
- After completing steps 1-6 above for adding a new method, a pop up will show asking you which method you would like to add. Click the dropdown labeled Choose a method.
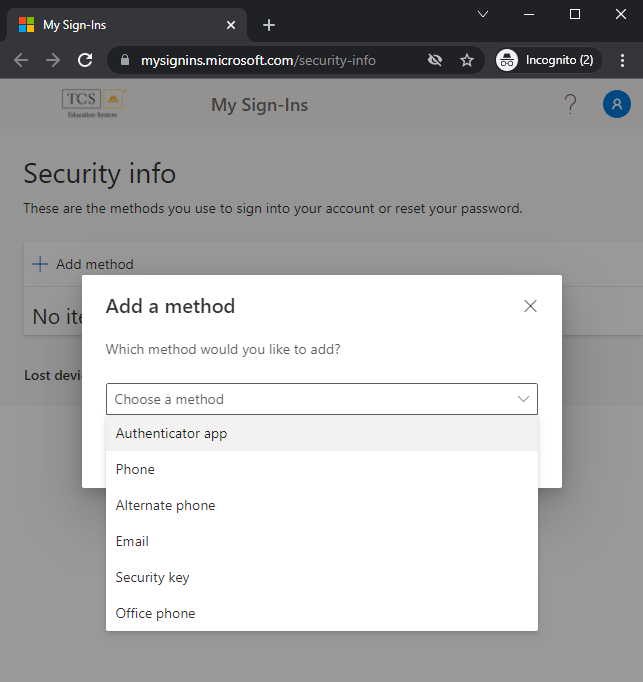
- In the dropdown, select Phone from the list of authentication methods.
- Click Add.
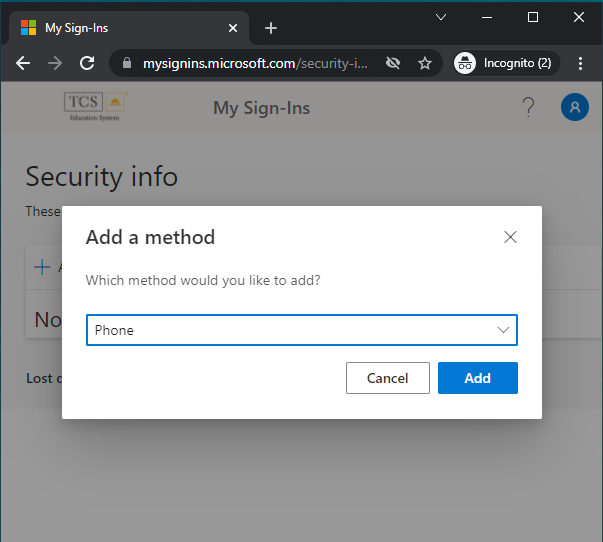
- Type your phone number in the Enter phone number text box. Click Text me a code if you want to have a code texted to your phone, or click Call me if you want to have your phone called in order to verify your phone number.
Note: If you have an international phone number, remember to change the country code before proceeding.

- If you selected Text me a code, enter the code that was texted to your phone to verify the phone number.

If you selected Call me, answer the call and follow the instructions (press the pound key) to verify the phone number.
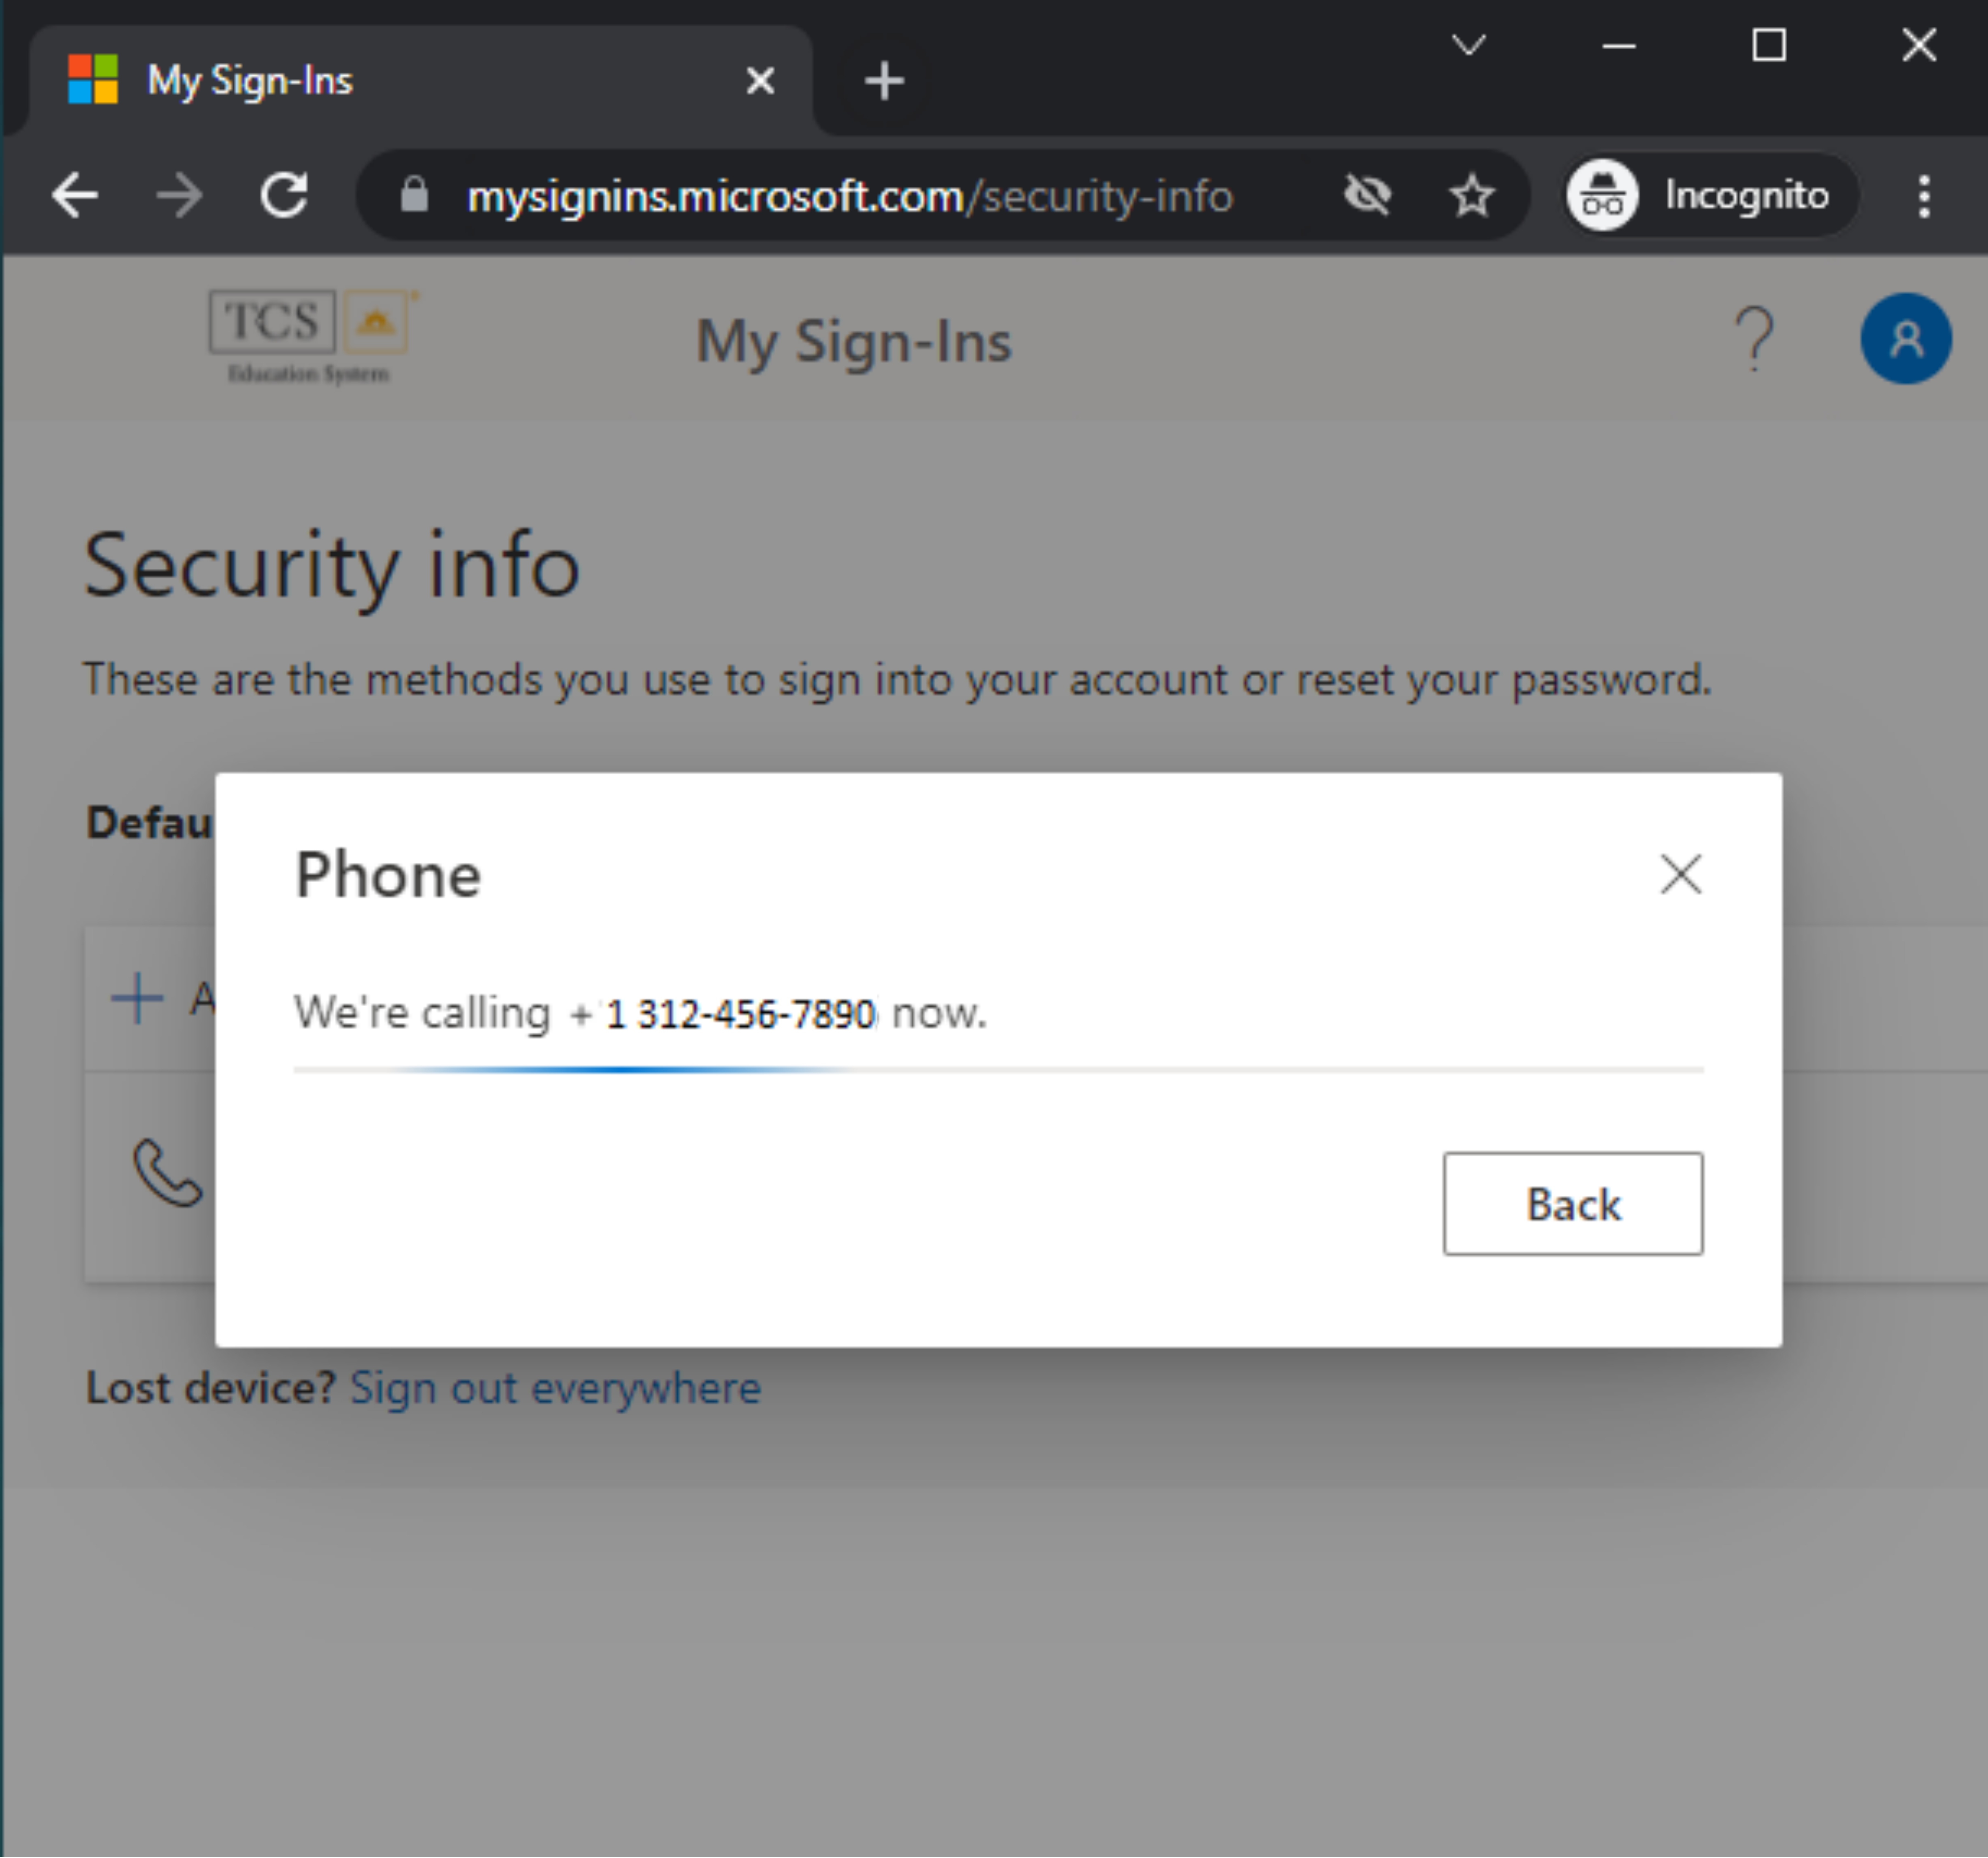
- Once the phone number is confirmed, you will receive a message that the phone was verified.
If you chose text to verify, you will see the message "SMS verified".

If you chose call to verify, you will see the message "Call answered".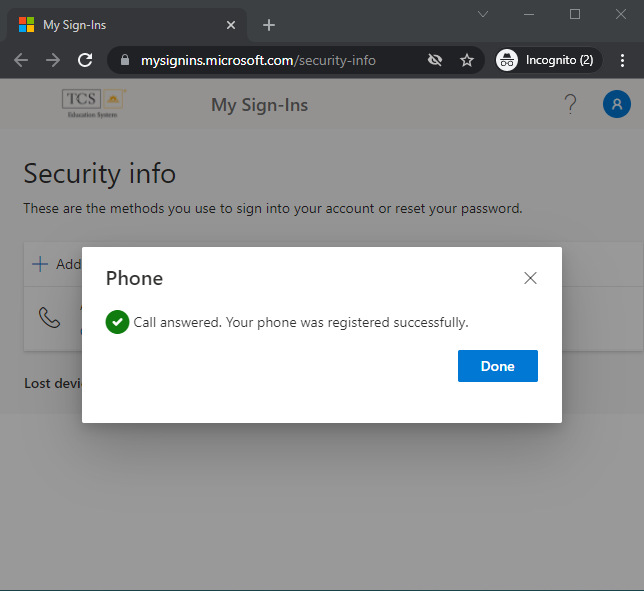
- Click Done. You should now see Phone as a method listed in the Security Info page. This means that you will have the option to sign in through text or call when you sign into your account with MFA.
How do I enroll an alternate phone for MFA?
- After completing steps 1-6 above for adding a new method, a pop up will show asking you which method you would like to add. Click the dropdown labeled Choose a method.

- In the dropdown, select Alternate phone from the list of authentication methods.

- Click Add.
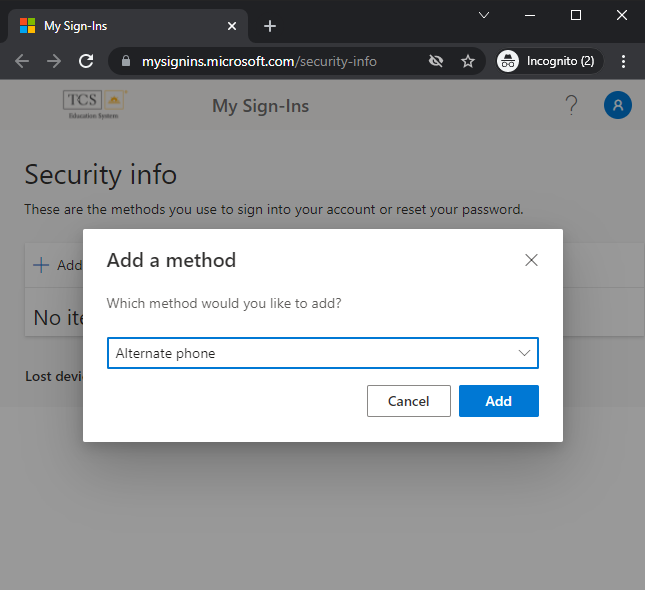
- Type your phone number in the Enter phone number text box. With an alternate phone method, you will only have the option for your phone to be called in order to verify your phone number. This is shown by having Call me selected.
Note: If you have an international phone number, remember to change the country code before proceeding.
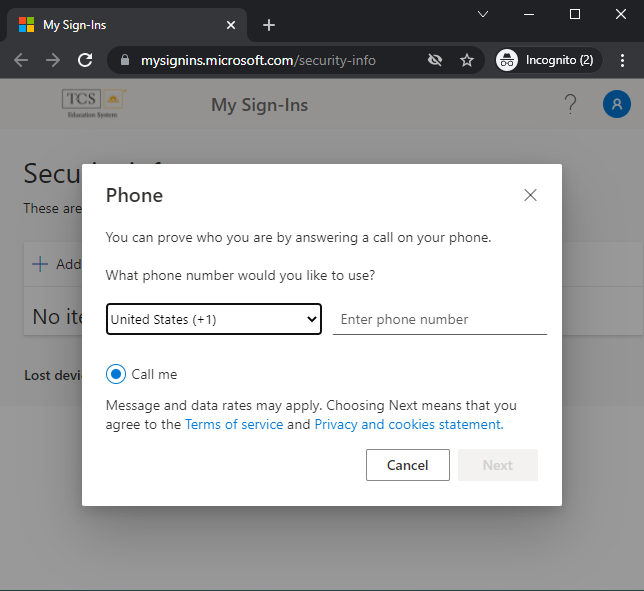
- An onscreen notification will appear that indicates the number you entered is being called. Answer the call and follow the instructions (press the pound key) to verify the phone number.

- Once the phone number is confirmed, you will receive a message that the call was answered and the phone was verified. Click Done. You should now see Alternate phone as a method listed in the Security Info page. This means that you will have the option to sign in through a call to that phone when you sign into your account with MFA.

How do I enroll an Authenticator app (mobile app) for MFA?
- After completing steps 1-6 above for adding a new method, a pop up will show asking you which method you would like to add. Click the dropdown labeled Choose a method.

- In the dropdown, select Authenticator app from the list of authentication methods.

- Click Add.
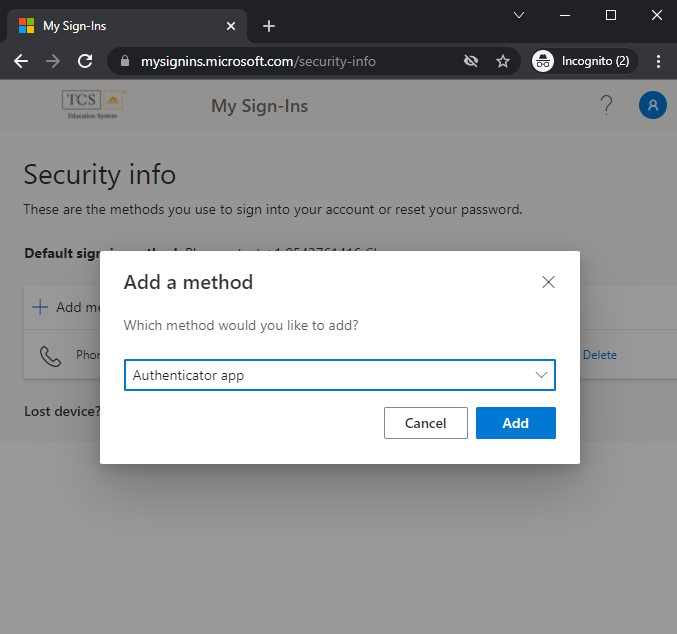
- You will now be prompted to set up your account in the Microsoft Authenticator app. In order to do this, you will need to first download the Microsoft Authenticator app on your phone. Use the App Store for Apple devices or the Play Store for Android devices. For a walkthrough on how to download the authenticator app, click here.
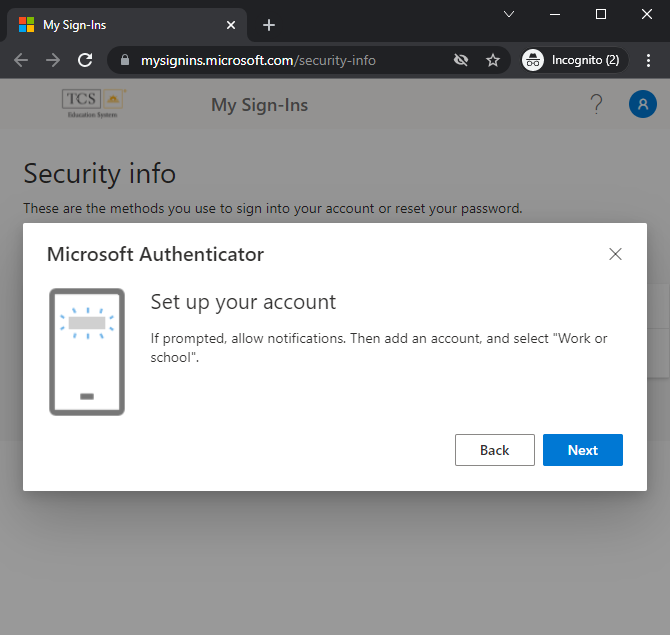
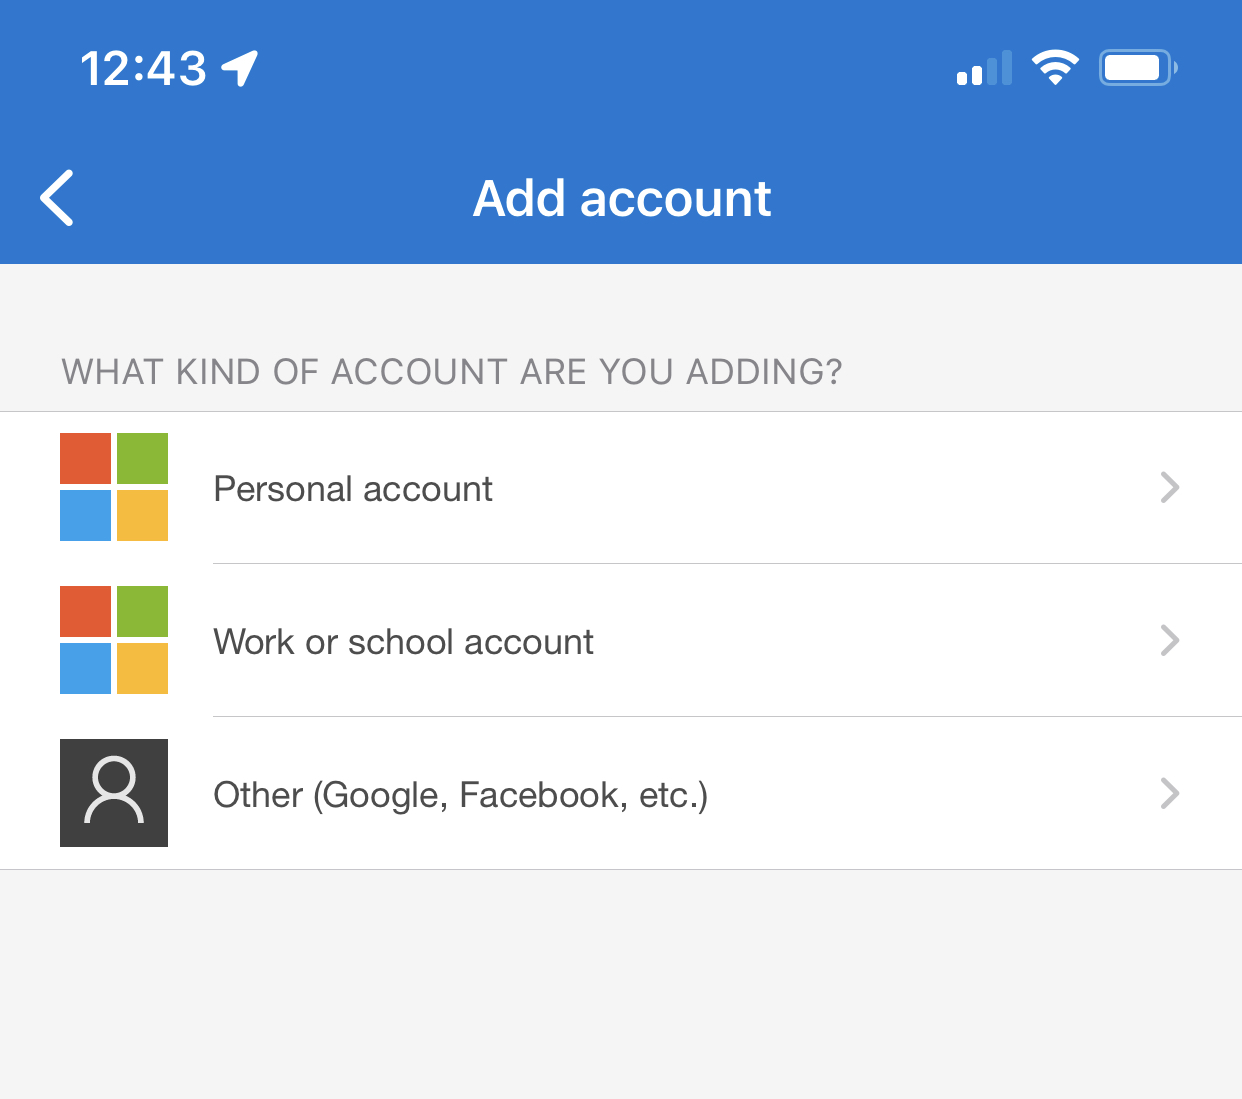
- Once the Microsoft Authenticator app is downloaded, open the app on your phone and click the + sign in the top-right corner to start adding your account.

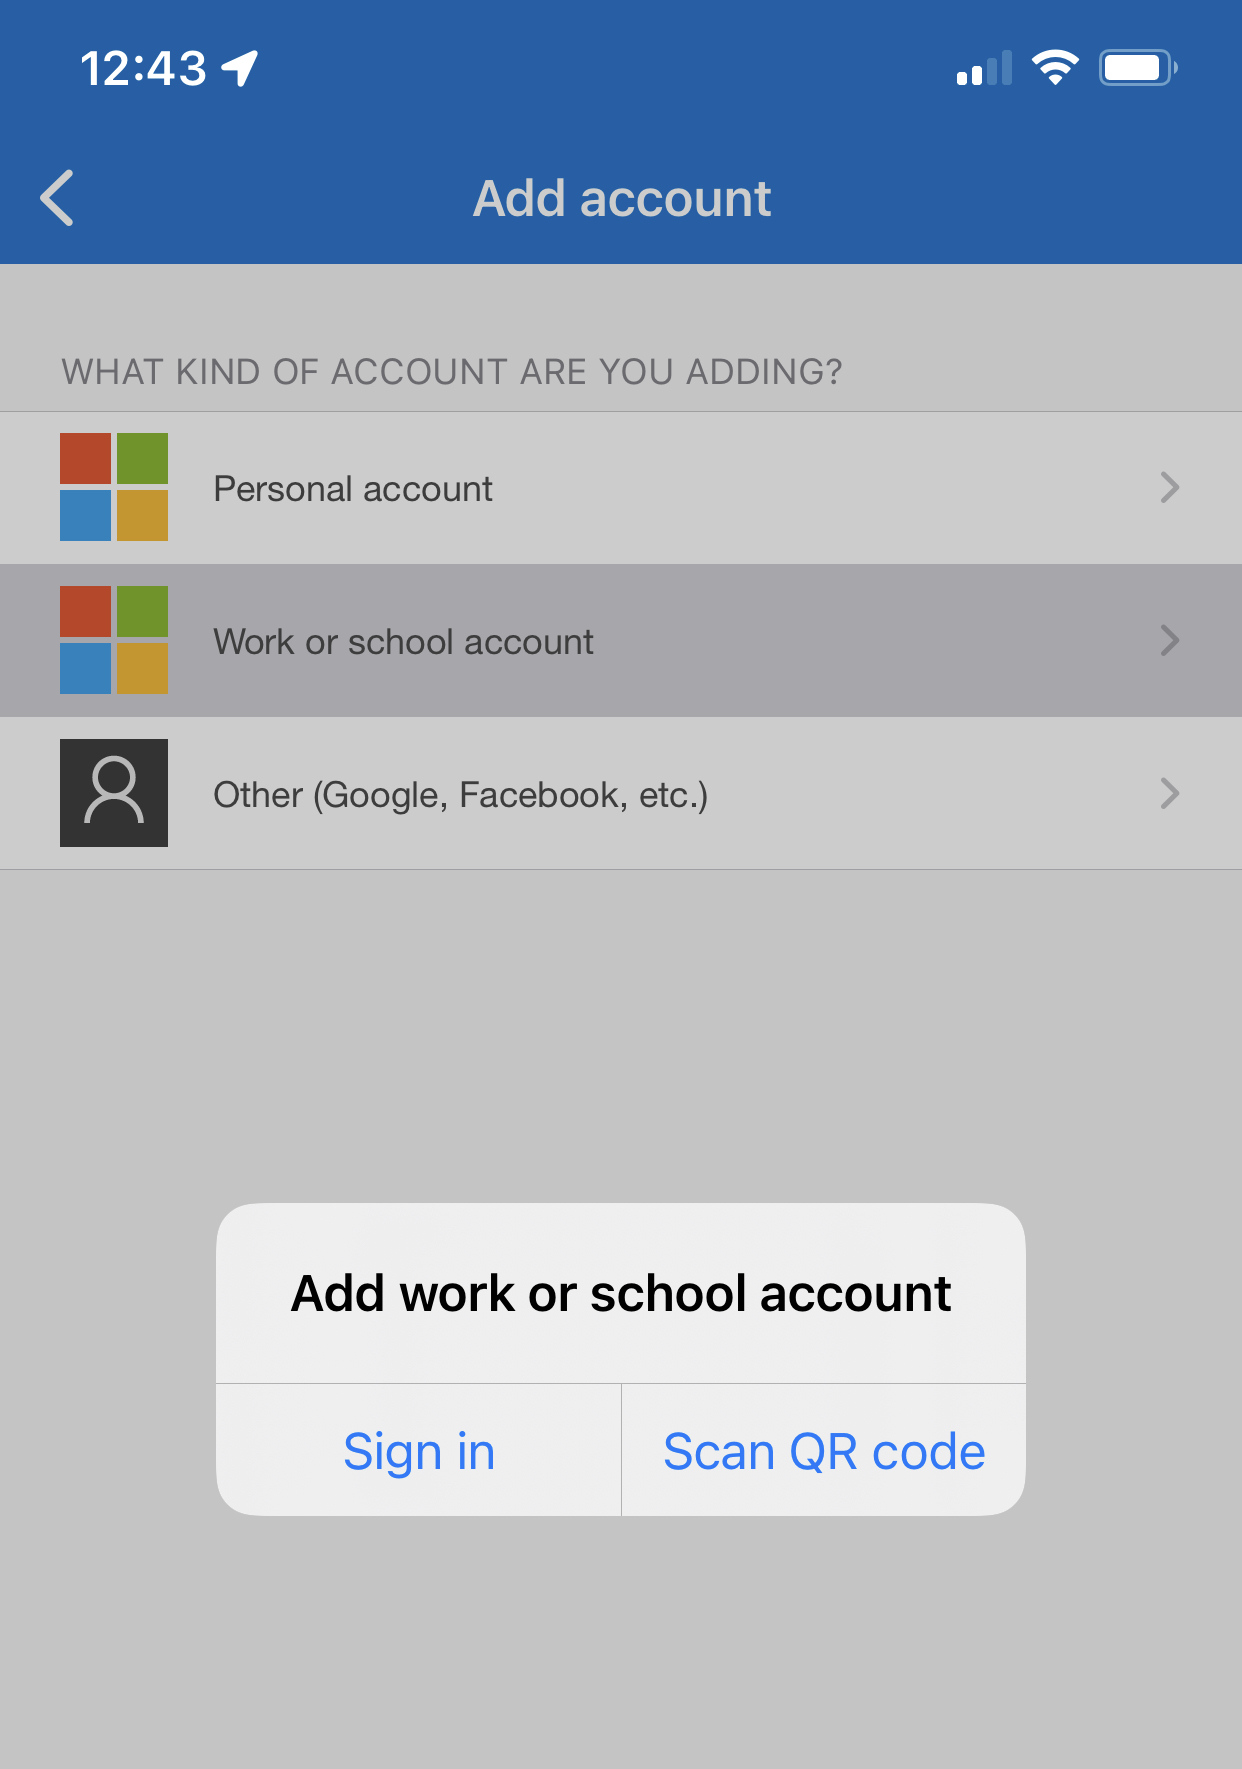
- You will be asked what kind of account you are adding. Click Work or school account.
- A pop up will ask you to either sign in or scan a QR code. Click Scan a QR code.
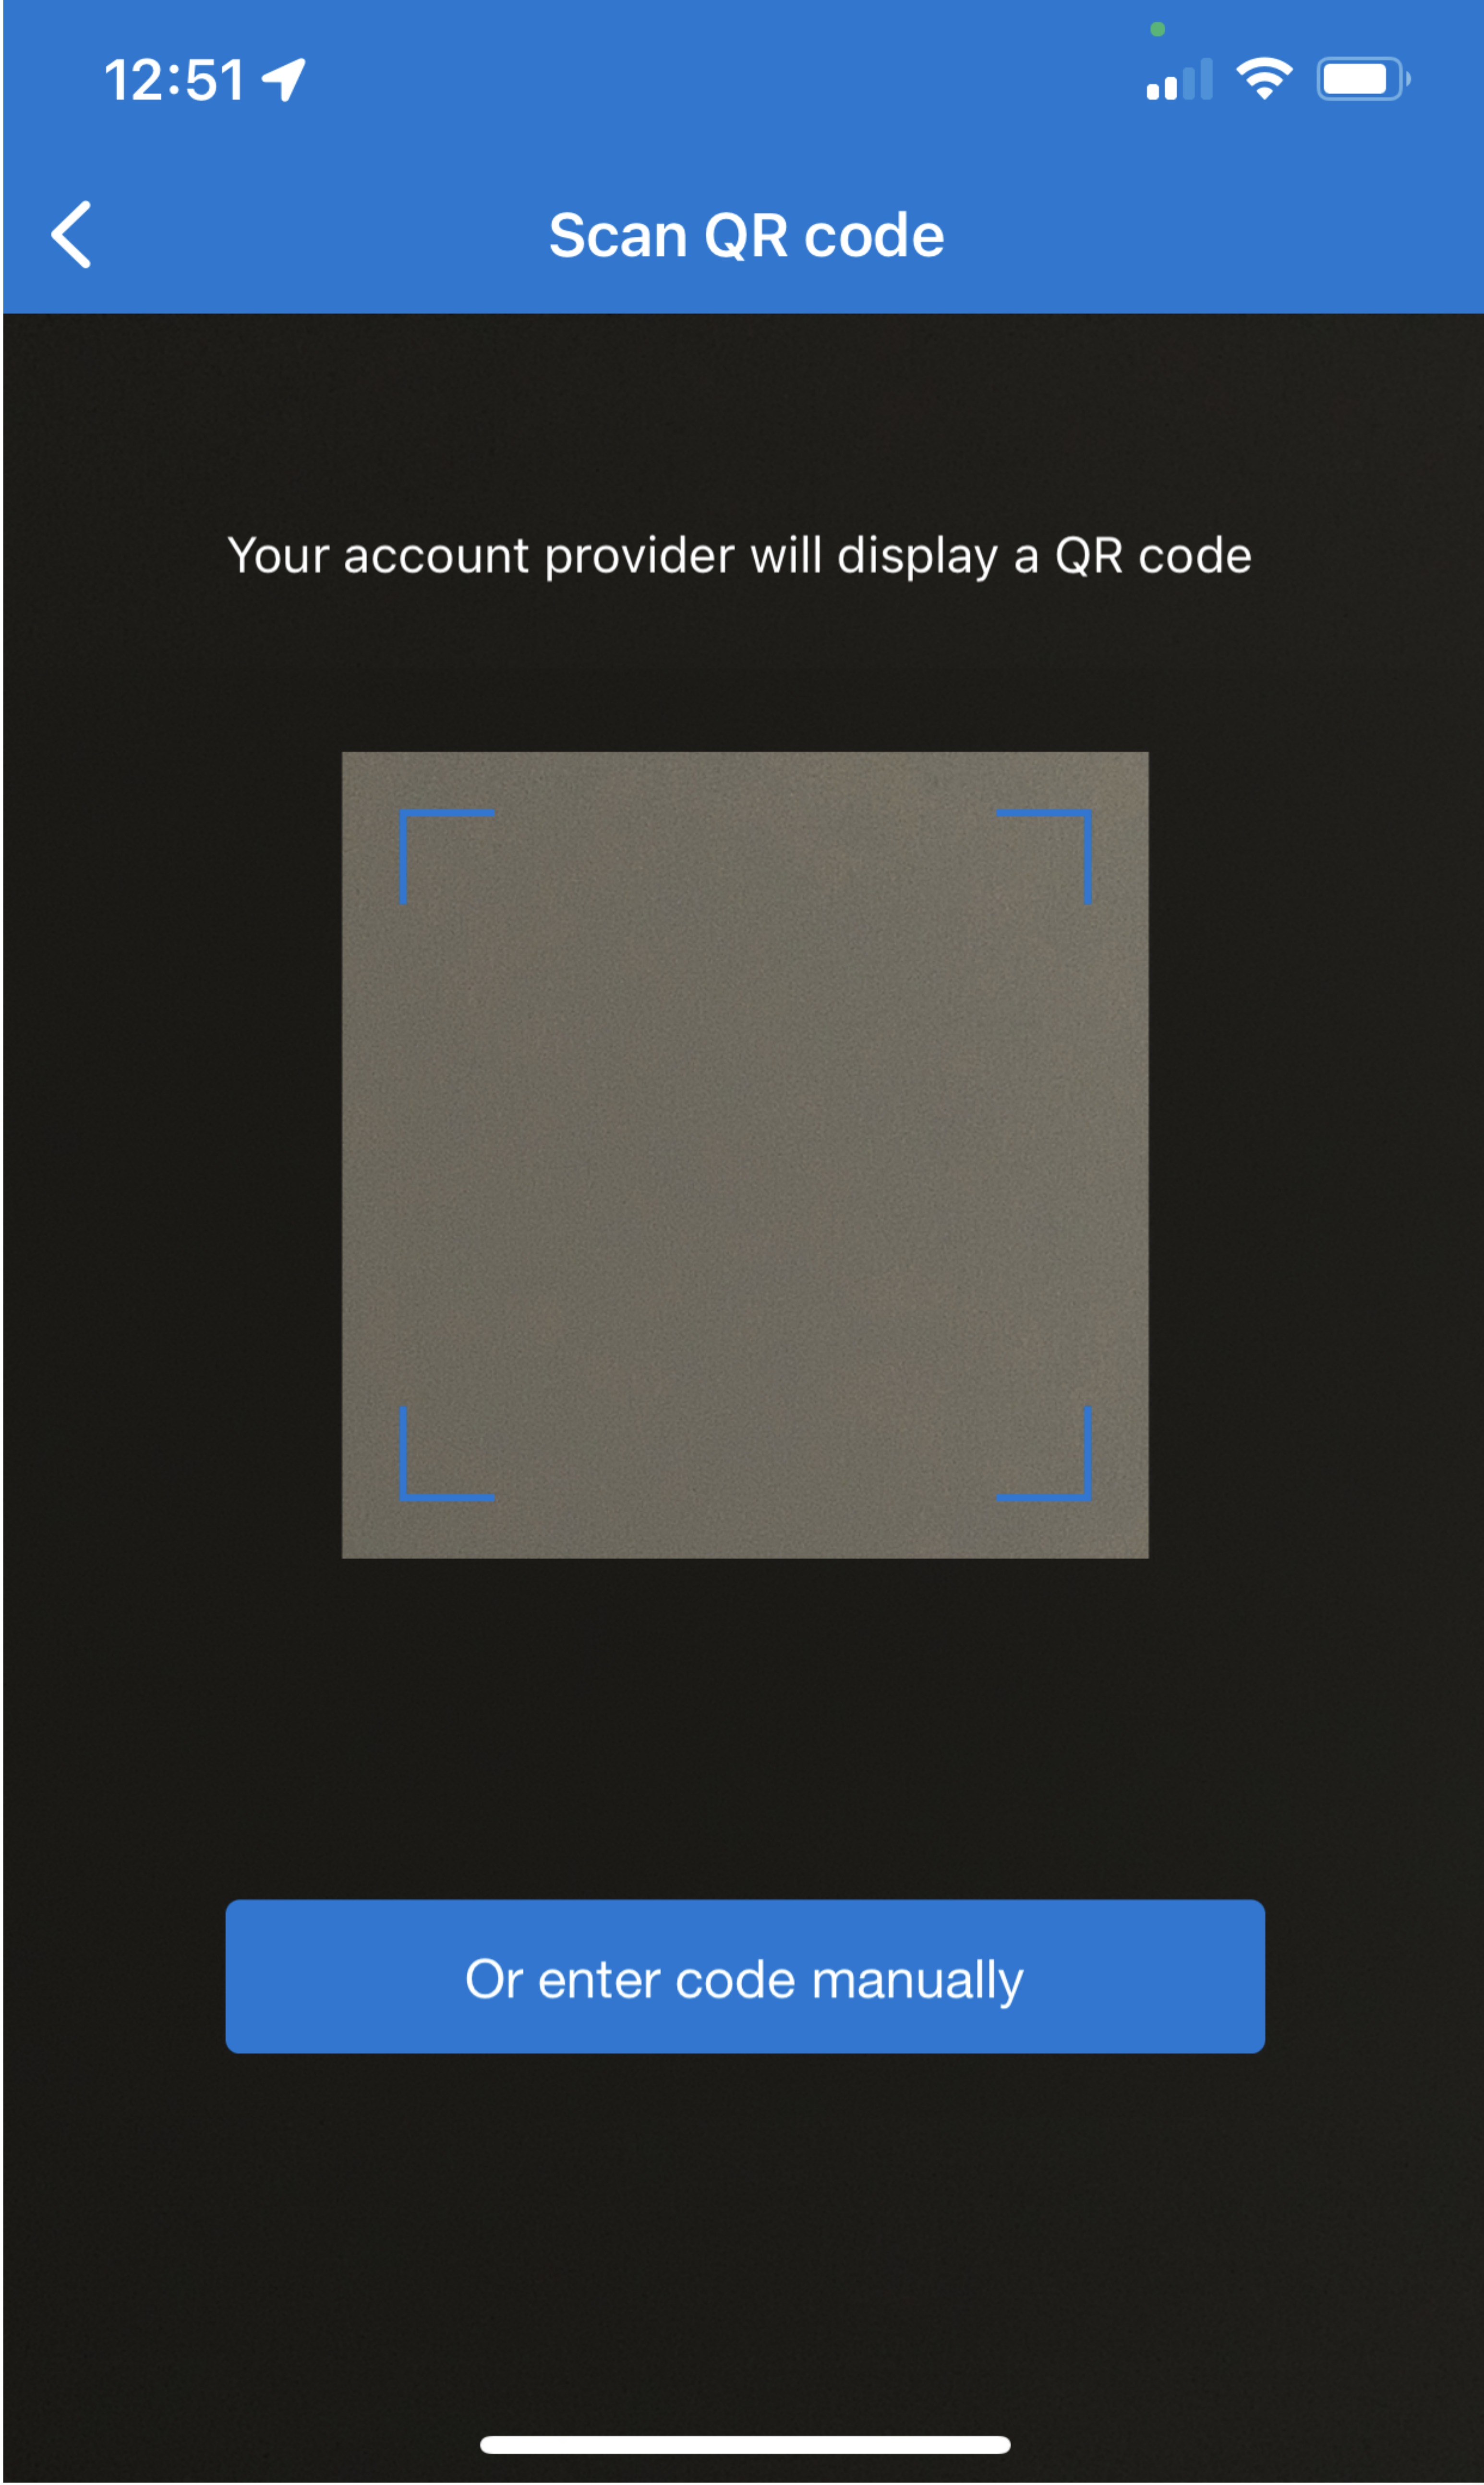
- You will now see a screen for scanning a QR code on your phone in the app.
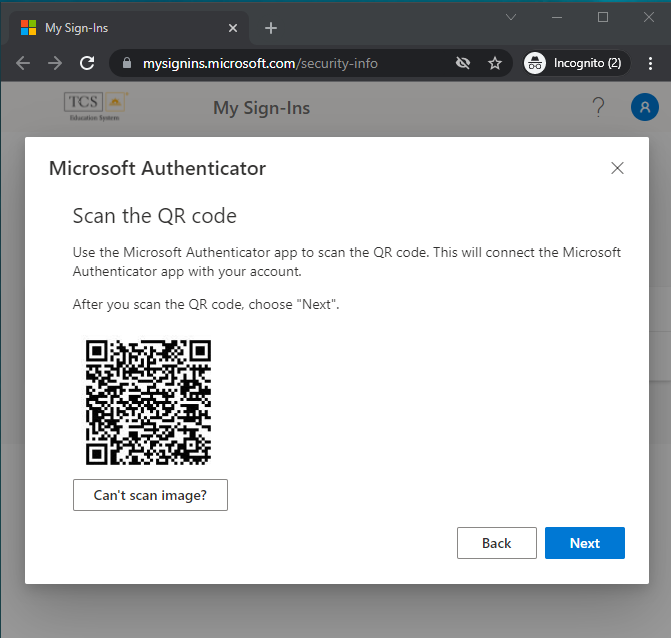
- Go back to the screen in your web browser where it asked you to set up your account, and click Next.

- You will now see a QR code on the screen. Scan this QR code within the scanner on your phone screen.
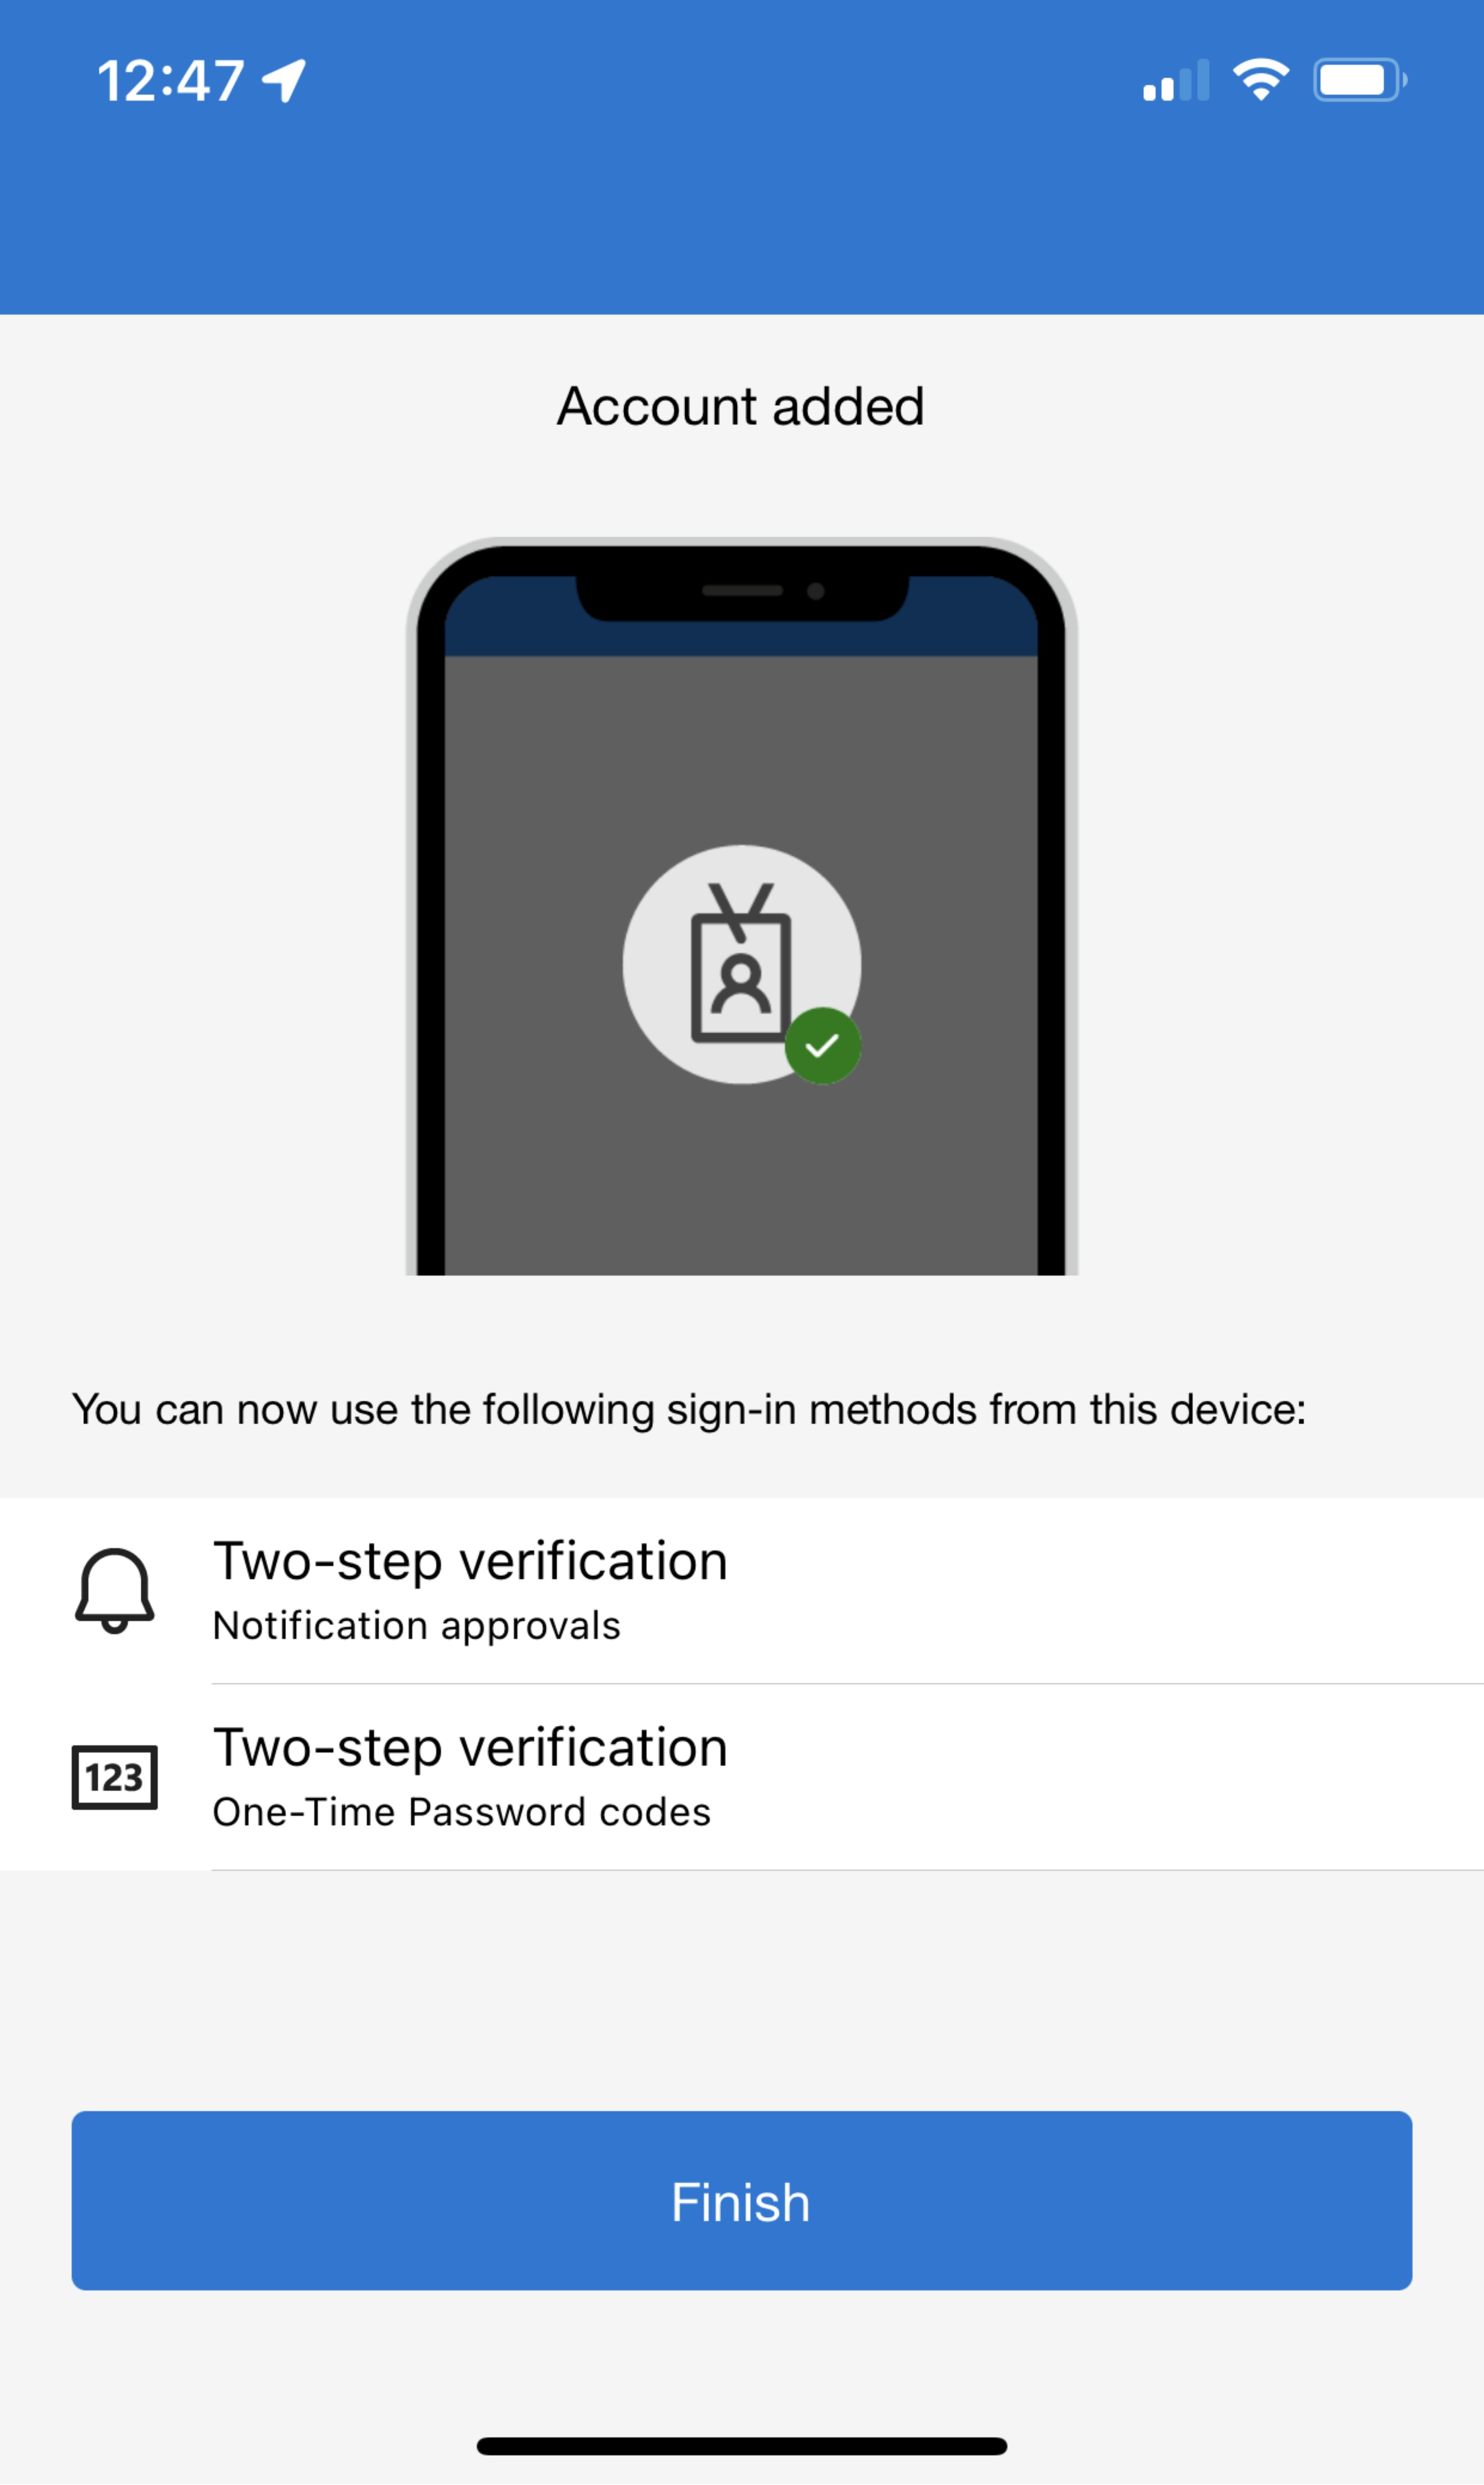
- Once the QR code is scanned, you will see a confirmation on your phone that your account was added to the app. It will also show that you can now use notification approvals or one-time password codes through the app for MFA (they call this two-step verification in the app). Click Finish to finish adding your account to the app.
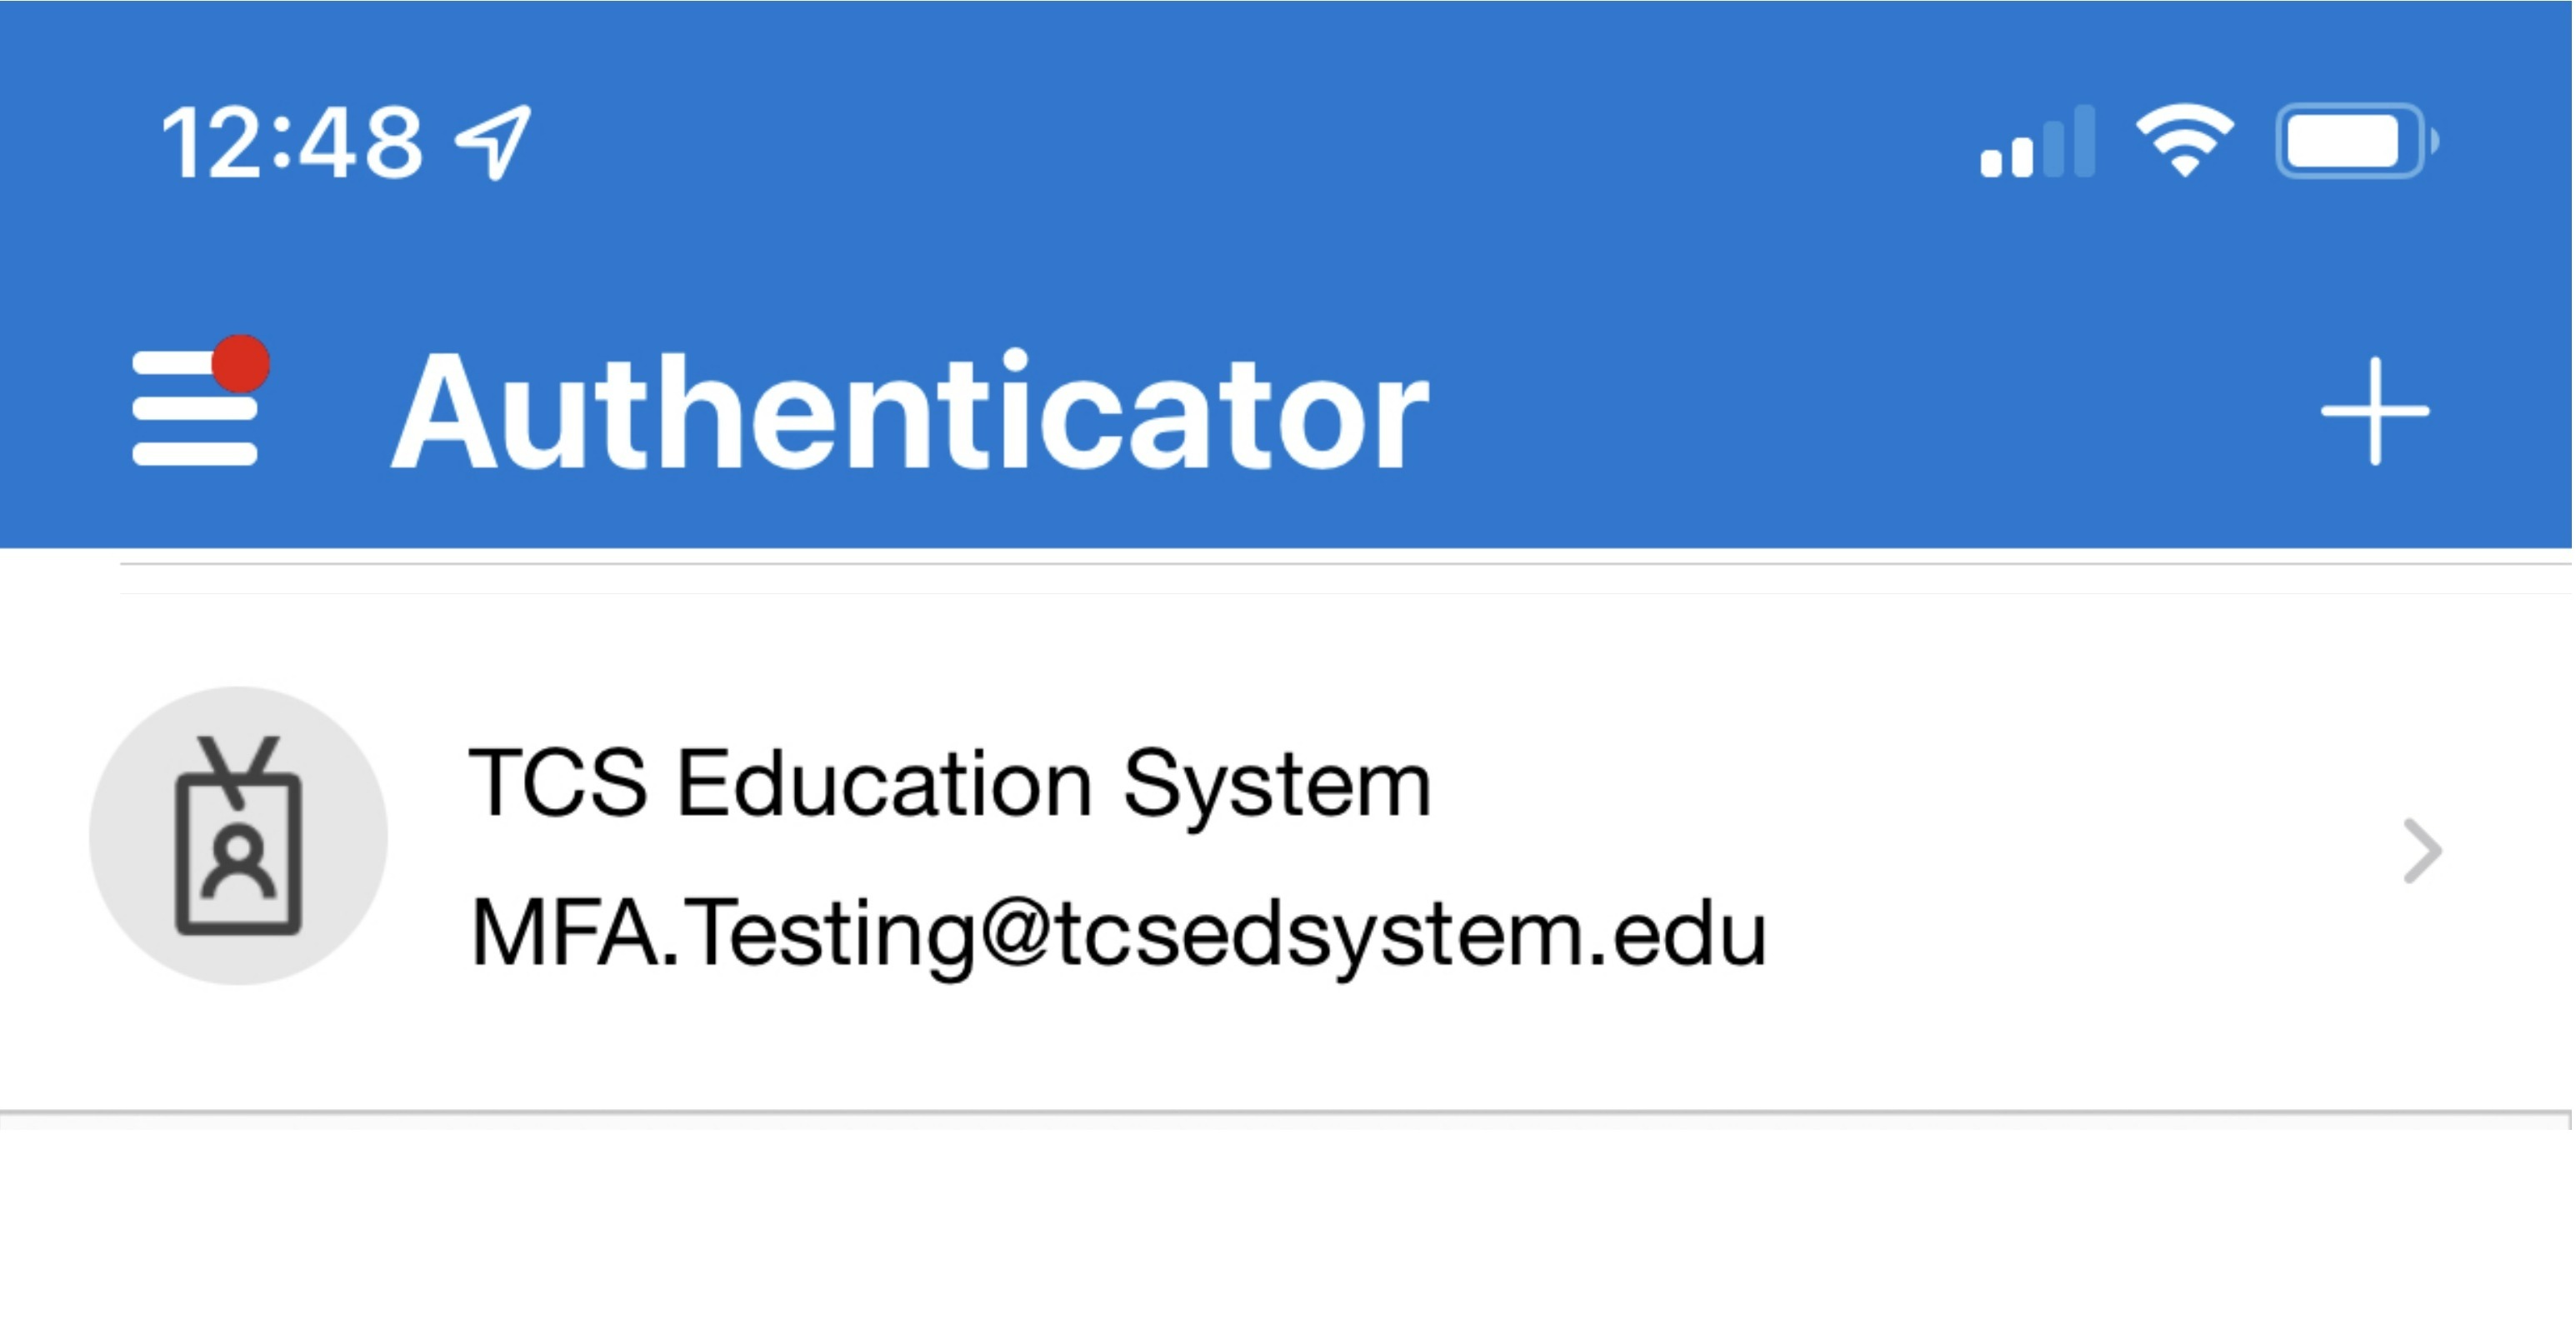
- The app will now take you back to its home screen where it will show your school account with your school email address.
- Go back to the screen in your web browser where it asked you to scan the QR code, and click Next.

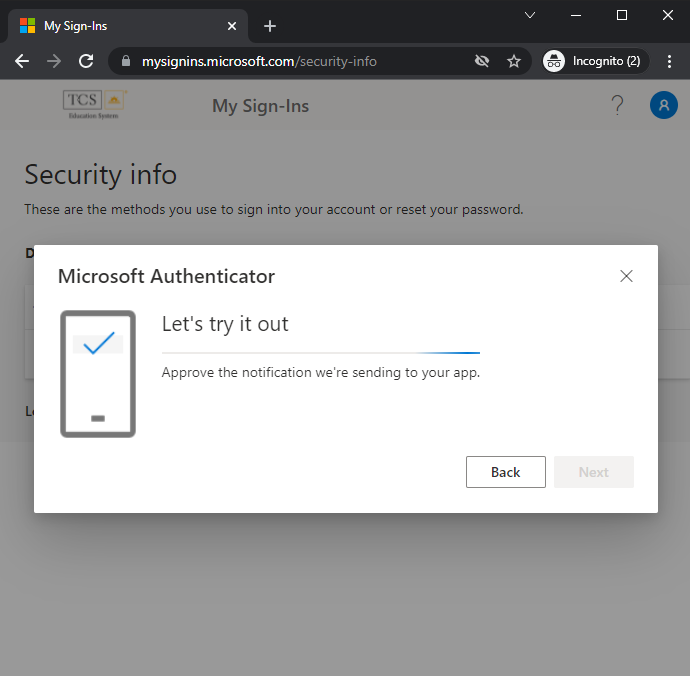
- You will now see a screen telling you to approve a notification that is being sent to the app.
- There are two ways to approve the notification on your phone:
1) Open the app on your phone, if it's not open already. You will get a pop up on your phone asking if you approve sign-in. Click Approve.
2) A push notification from the app will show up on your phone. Click the push notification. This will bring you to the app where you will see a pop up asking if you approve sign-in. Click Approve.
Note: You may have to put in a passcode or complete another authentication method (e.g. FaceID) for your phone to finish approval. The method depends on what method you use to unlock your phone.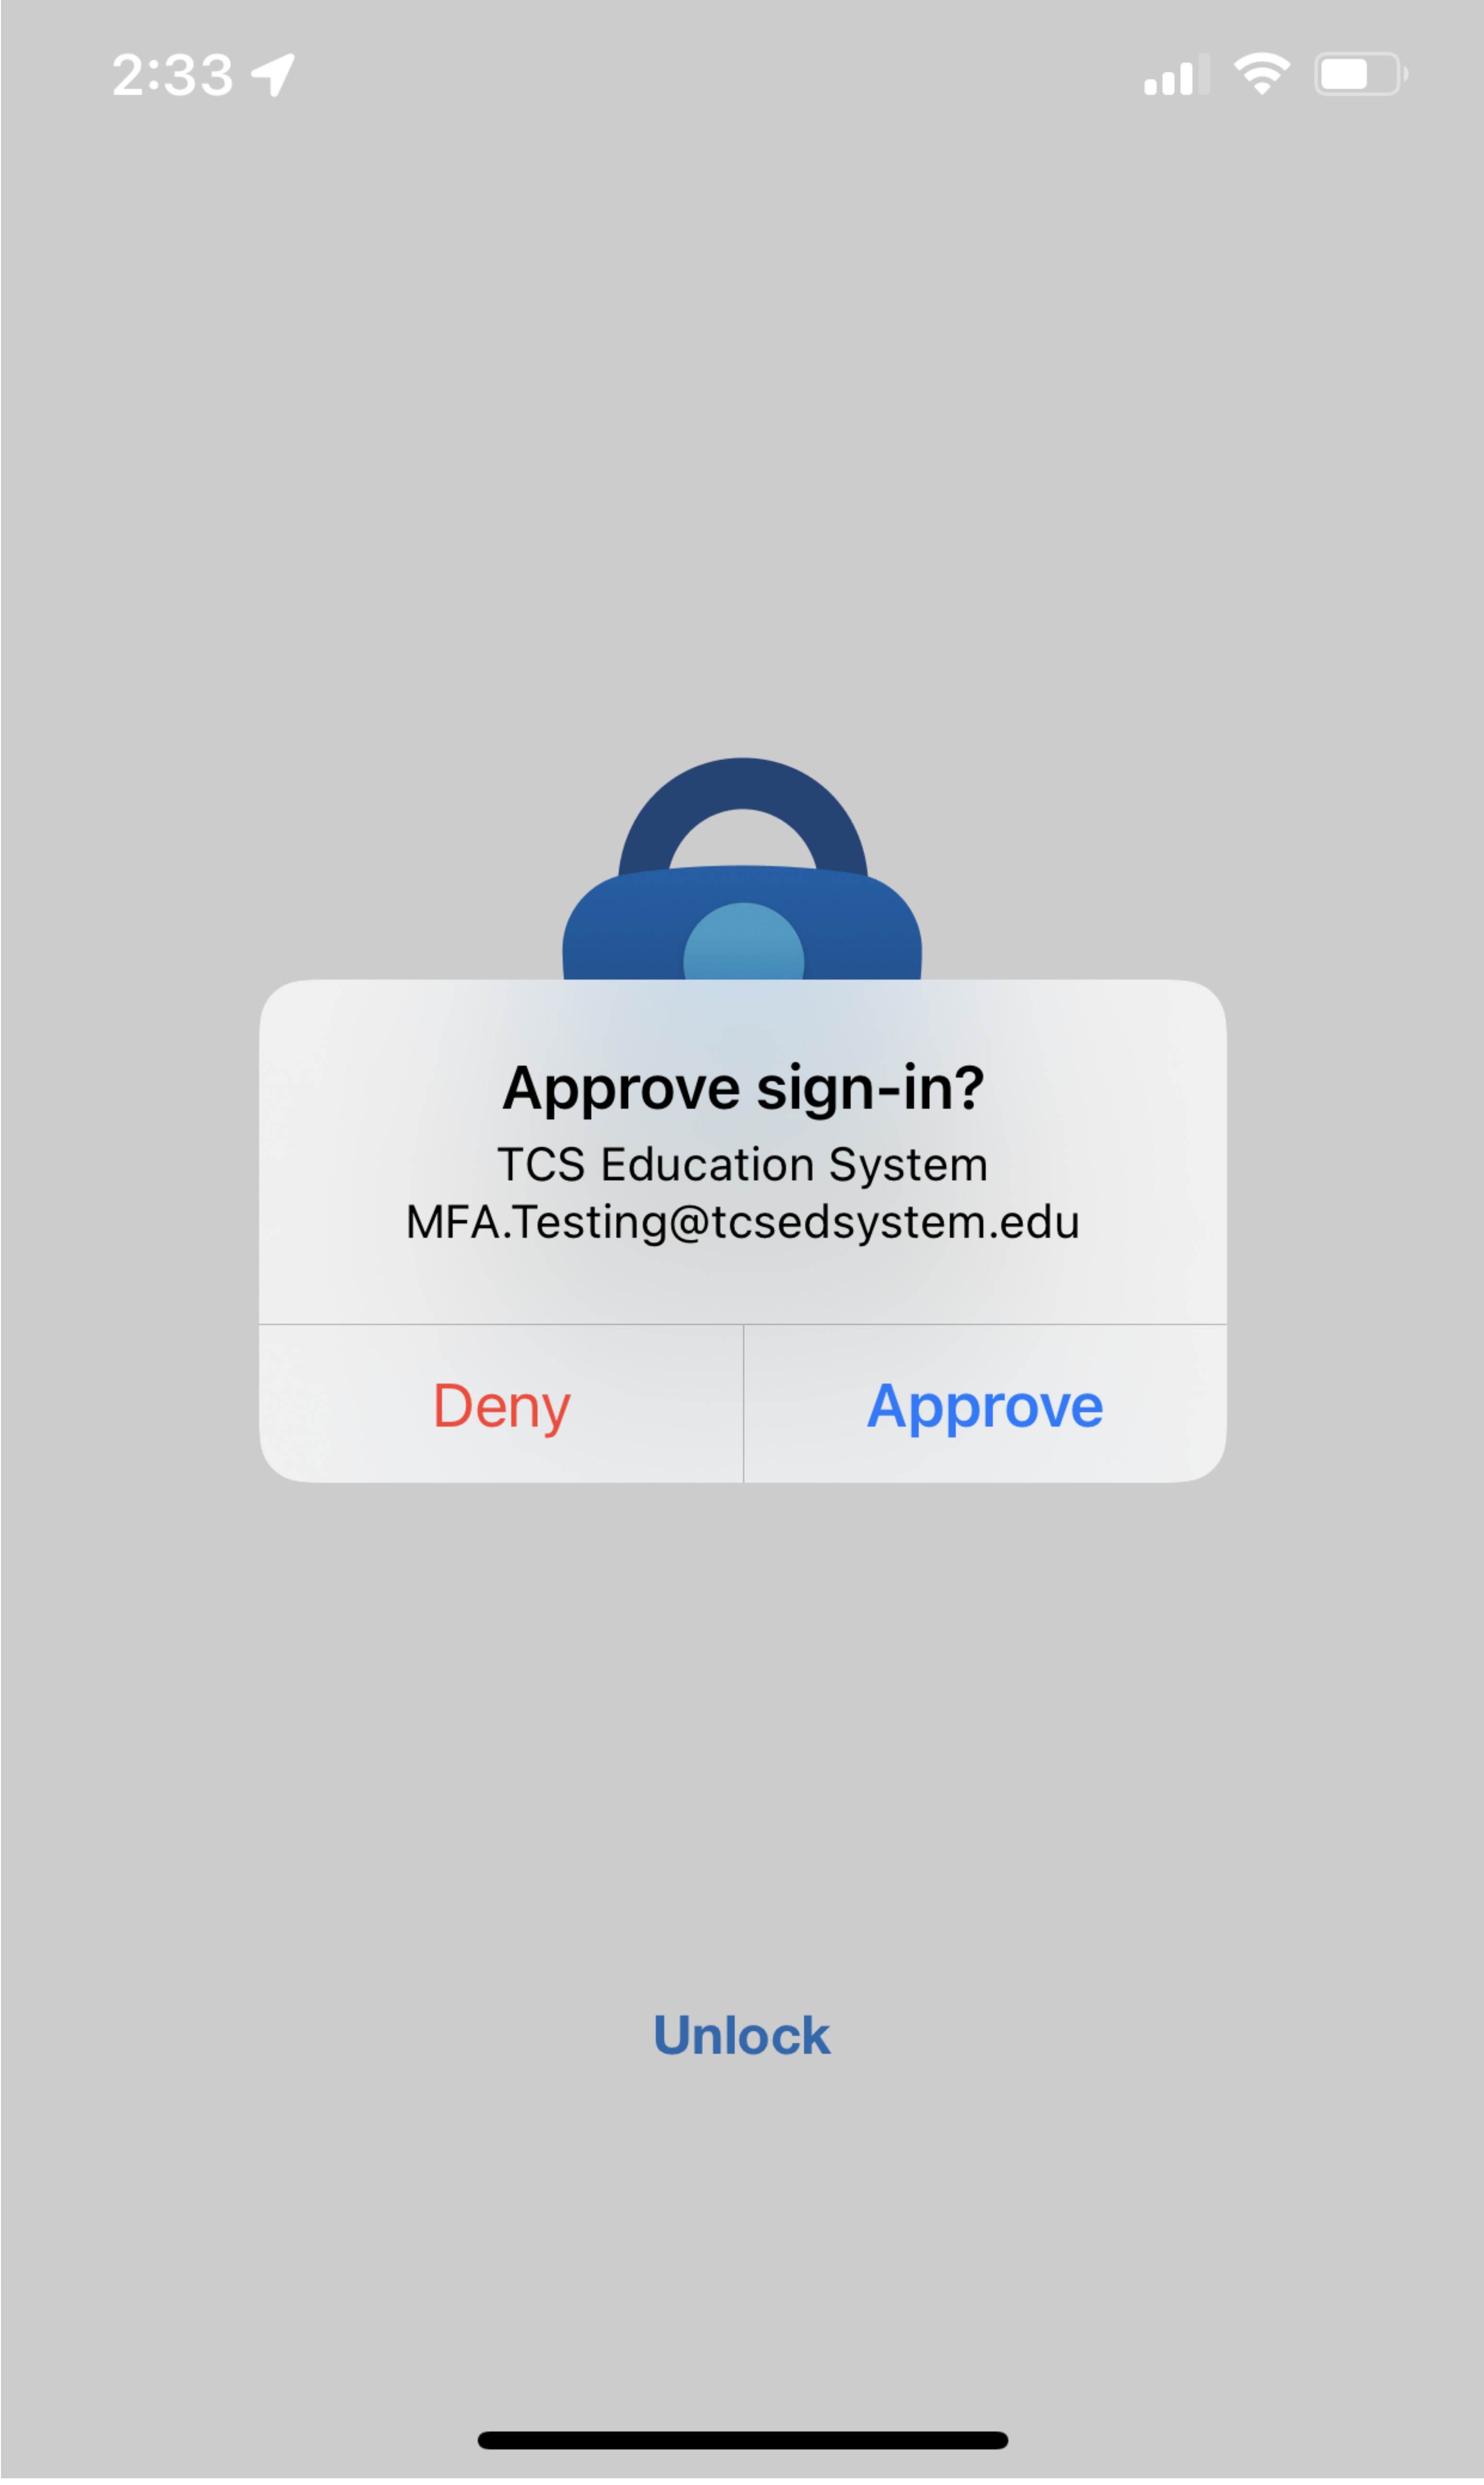
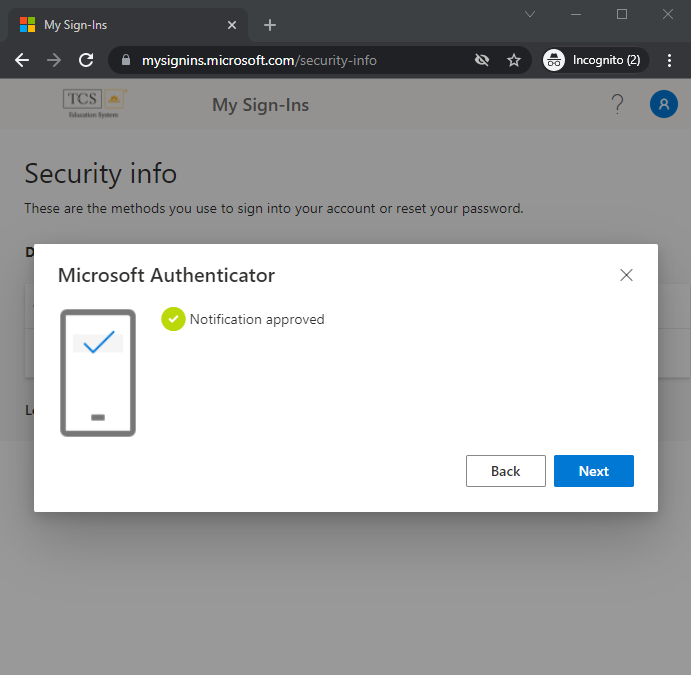
- Go back to the screen in your web browser where it asked you to approve the notification. It should now show a confirmation message that the notification was approved. Click Next. You should now see Authenticator app as a method listed in the Security Info page. This means that you will have the option to sign in through either push notification or code through the app when you sign into your account with MFA.
